When we first saw this apartment, I loved it immediately. The ceilings are super high, the floors are hardwood throughout, and there’s plenty of space – more than necessary for the two of us.
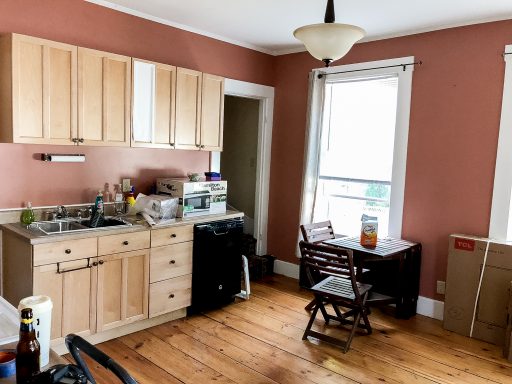
There were only two downsides: the walls, and the kitchen cabinets.
The bright yellow and orange walls were pretty easy to fix. Our landlord didn’t care if we painted, and while it did take a good amount of time, I can say that it was 100% worth it.
Unfortunately, we couldn’t paint the kitchen cabinets, and since the kitchen is the most prominent main room in the apartment, they were a huge eyesore.
As a blogger, I felt like a white kitchen was something I needed. So of course, I bought rolls and rolls of white contact paper and spent days (if not weeks or months) figuring out how to cover the kitchen cabinets without causing any lasting harm.
Advice wise, I’d say this task is totally worth it to take on, as long as you’ll be staying in your apartment for more than a year.
It took me so long to complete the project that it just isn’t worth it for only one year. If you needed to do one cabinet or just the countertops then it’s a piece of cake, but the entire kitchen was definitely a time investment.
The Before
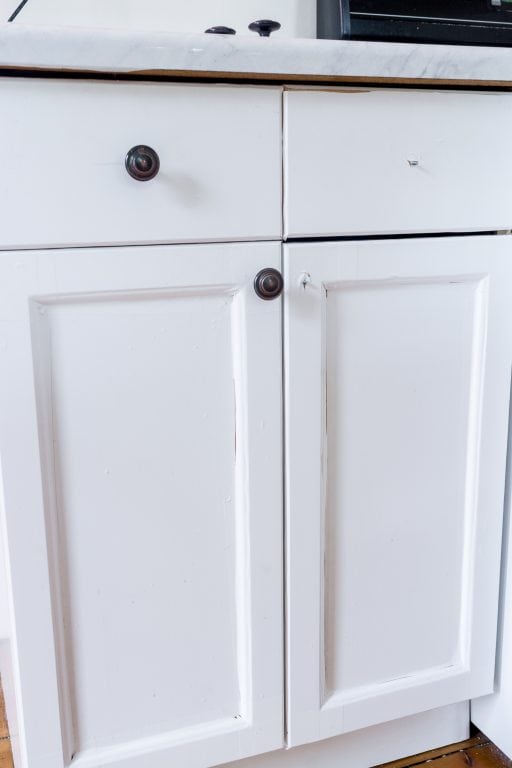
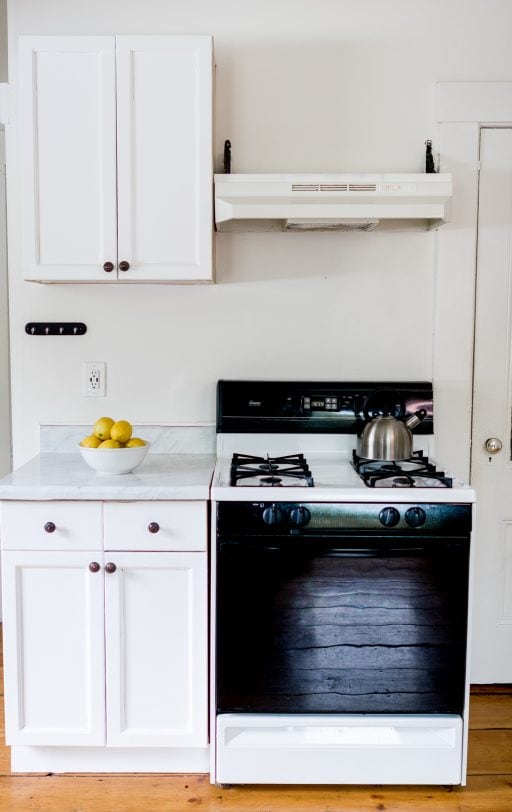
In case you needed a visual, here’s what my kitchen looked like when we first moved in.
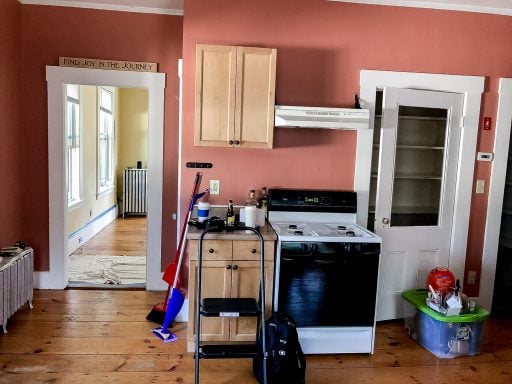
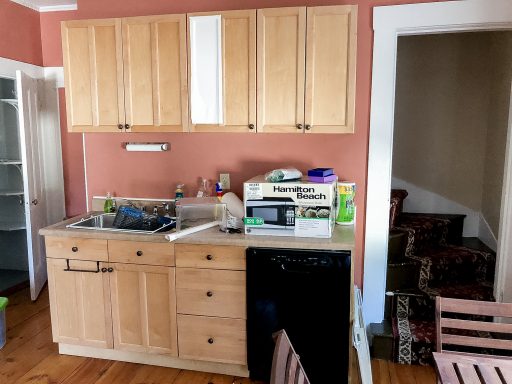
So okay, the cabinets weren’t terrible, but they also weren’t at all my taste, which generally leans towards anything neutral or white.
We first painted the walls white and it looked a lot better, but I still wanted a lighter feel, so I went for it.
Materials
I was able to get almost all of my materials on Amazon Prime to make it convenient.
After scouring high and low (no joke) and testing out a few different white papers, I finally found one I liked.
This contact paper isn’t very shiny so it doesn’t look tacky and is really moldable. Some of the brands are far too stiff to work on kitchen cabinets, but this one was flexible and fit really well.
I ended up using about 5 rolls for the entire kitchen. The rolls are pretty large and are wide enough that you can usually just use one piece for a whole cabinet.
For the countertops, I purchased marble contact paper on Amazon. I got the extra-wide option (3.28 x 9.84ft) which was totally worth it so that there aren’t many seams.
This marble contact paper is much more stiff than the white paper I used on the cabinets, but this works great for the countertops and helps keep it waterproof.
I routinely cook, juice, and spill stuff on the countertops and haven’t had a problem, even near the sink!
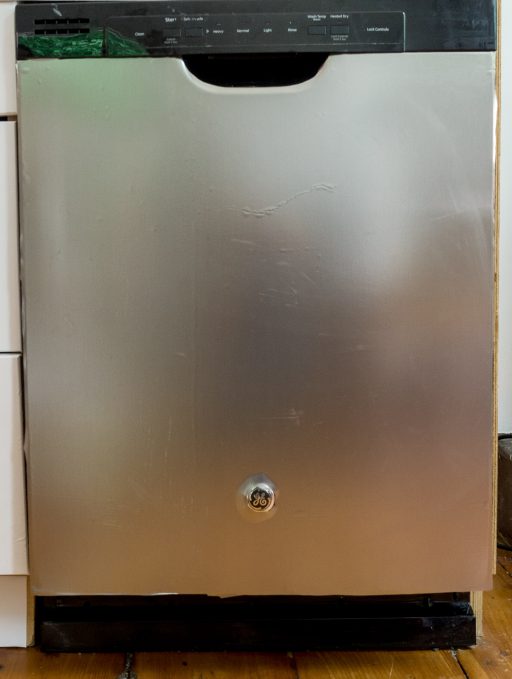
Lastly, I covered the dishwasher with extra-wide dishwasher and refrigerator specific stainless steel contact paper.
The texture is somewhat flexible but still stiffer than the white contact paper.
I definitely recommend the extra wide option so that there aren’t any seams. One roll would be enough for both a dishwasher and a refrigerator.
The downside of this stainless steel contact paper is that it gets nicked up easily (unlike the other two types), but I haven’t yet found a better brand/option. When I do, I’ll add it in here immediately!
- White cabinet contact paper
- A utility knife (I found this works better than an exacto knife)
- A tape measure (soft works best)
- Plastic paint scrapers of various sizes (metal doesn’t work as well)
- Countertop marble contact paper
- Dishwasher/refrigerator contact paper
How to Cover Kitchen Cabinets With Contact Paper
It takes a long time to cover a full kitchen with contact paper, but the process itself is pretty simple.
Plan for about an hour per cabinet (both doors). I spent a lot of lunch hours, weekend nights, and downtime working with contact paper.
If you’re a decent multitasker, I recommend watching Netflix while you work – I actually started to look forward to it so I could watch another episode of How I Met Your Mother (I was pretty addicted at the time).
Step 1: Preparation
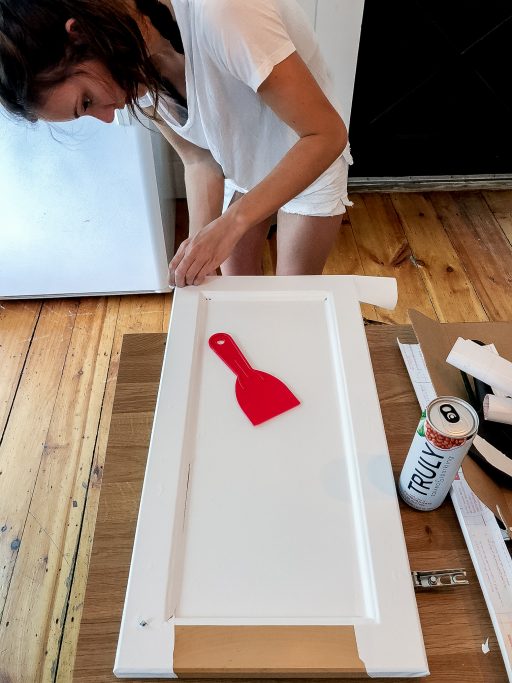
Unscrew a cabinet door and take off the handle. Lay it flat on a countertop or rug.
Measure each piece of the cabinet and cut the contact paper in the right size. For example, my cabinet had 5 pieces: each vertical side, the horizontal top and bottom, and the center piece.
I recommend cutting the pieces a tiny bit larger than necessary and trimming after.
Step 2: Application
After you have all of your pieces ready, apply each piece in any order you prefer. For some cabinets, I started with the large middle piece before applying the rest. I also tried applying the middle piece last, and sticking the four smaller pieces each on first.
The results are similar regardless: there are going to be seams, but you want them to be as flat as possible.
The trick is to use the plastic paint scrapers (different sizes will work best for different areas) to slowly press the contact paper down and get rid of any air bubbles.
This contact paper is super flexible, so when you place a full piece down and there’s air bubbles (which almost always happens), you can peel the paper up to the air bubble and use the scraper to re-flatten it.
Basically, the more you’re willing to work on one cabinet, the better it will come out. If I had wanted to spend hours on one door then I could have gotten it perfect, but I was honestly okay with a few imperfections, so I limited my time.
It’s really hard to dent or damage the contact paper while you’re working with it, which is why I think this is the absolute best brand for tricky cabinets.
Step 3: Finishing Touches
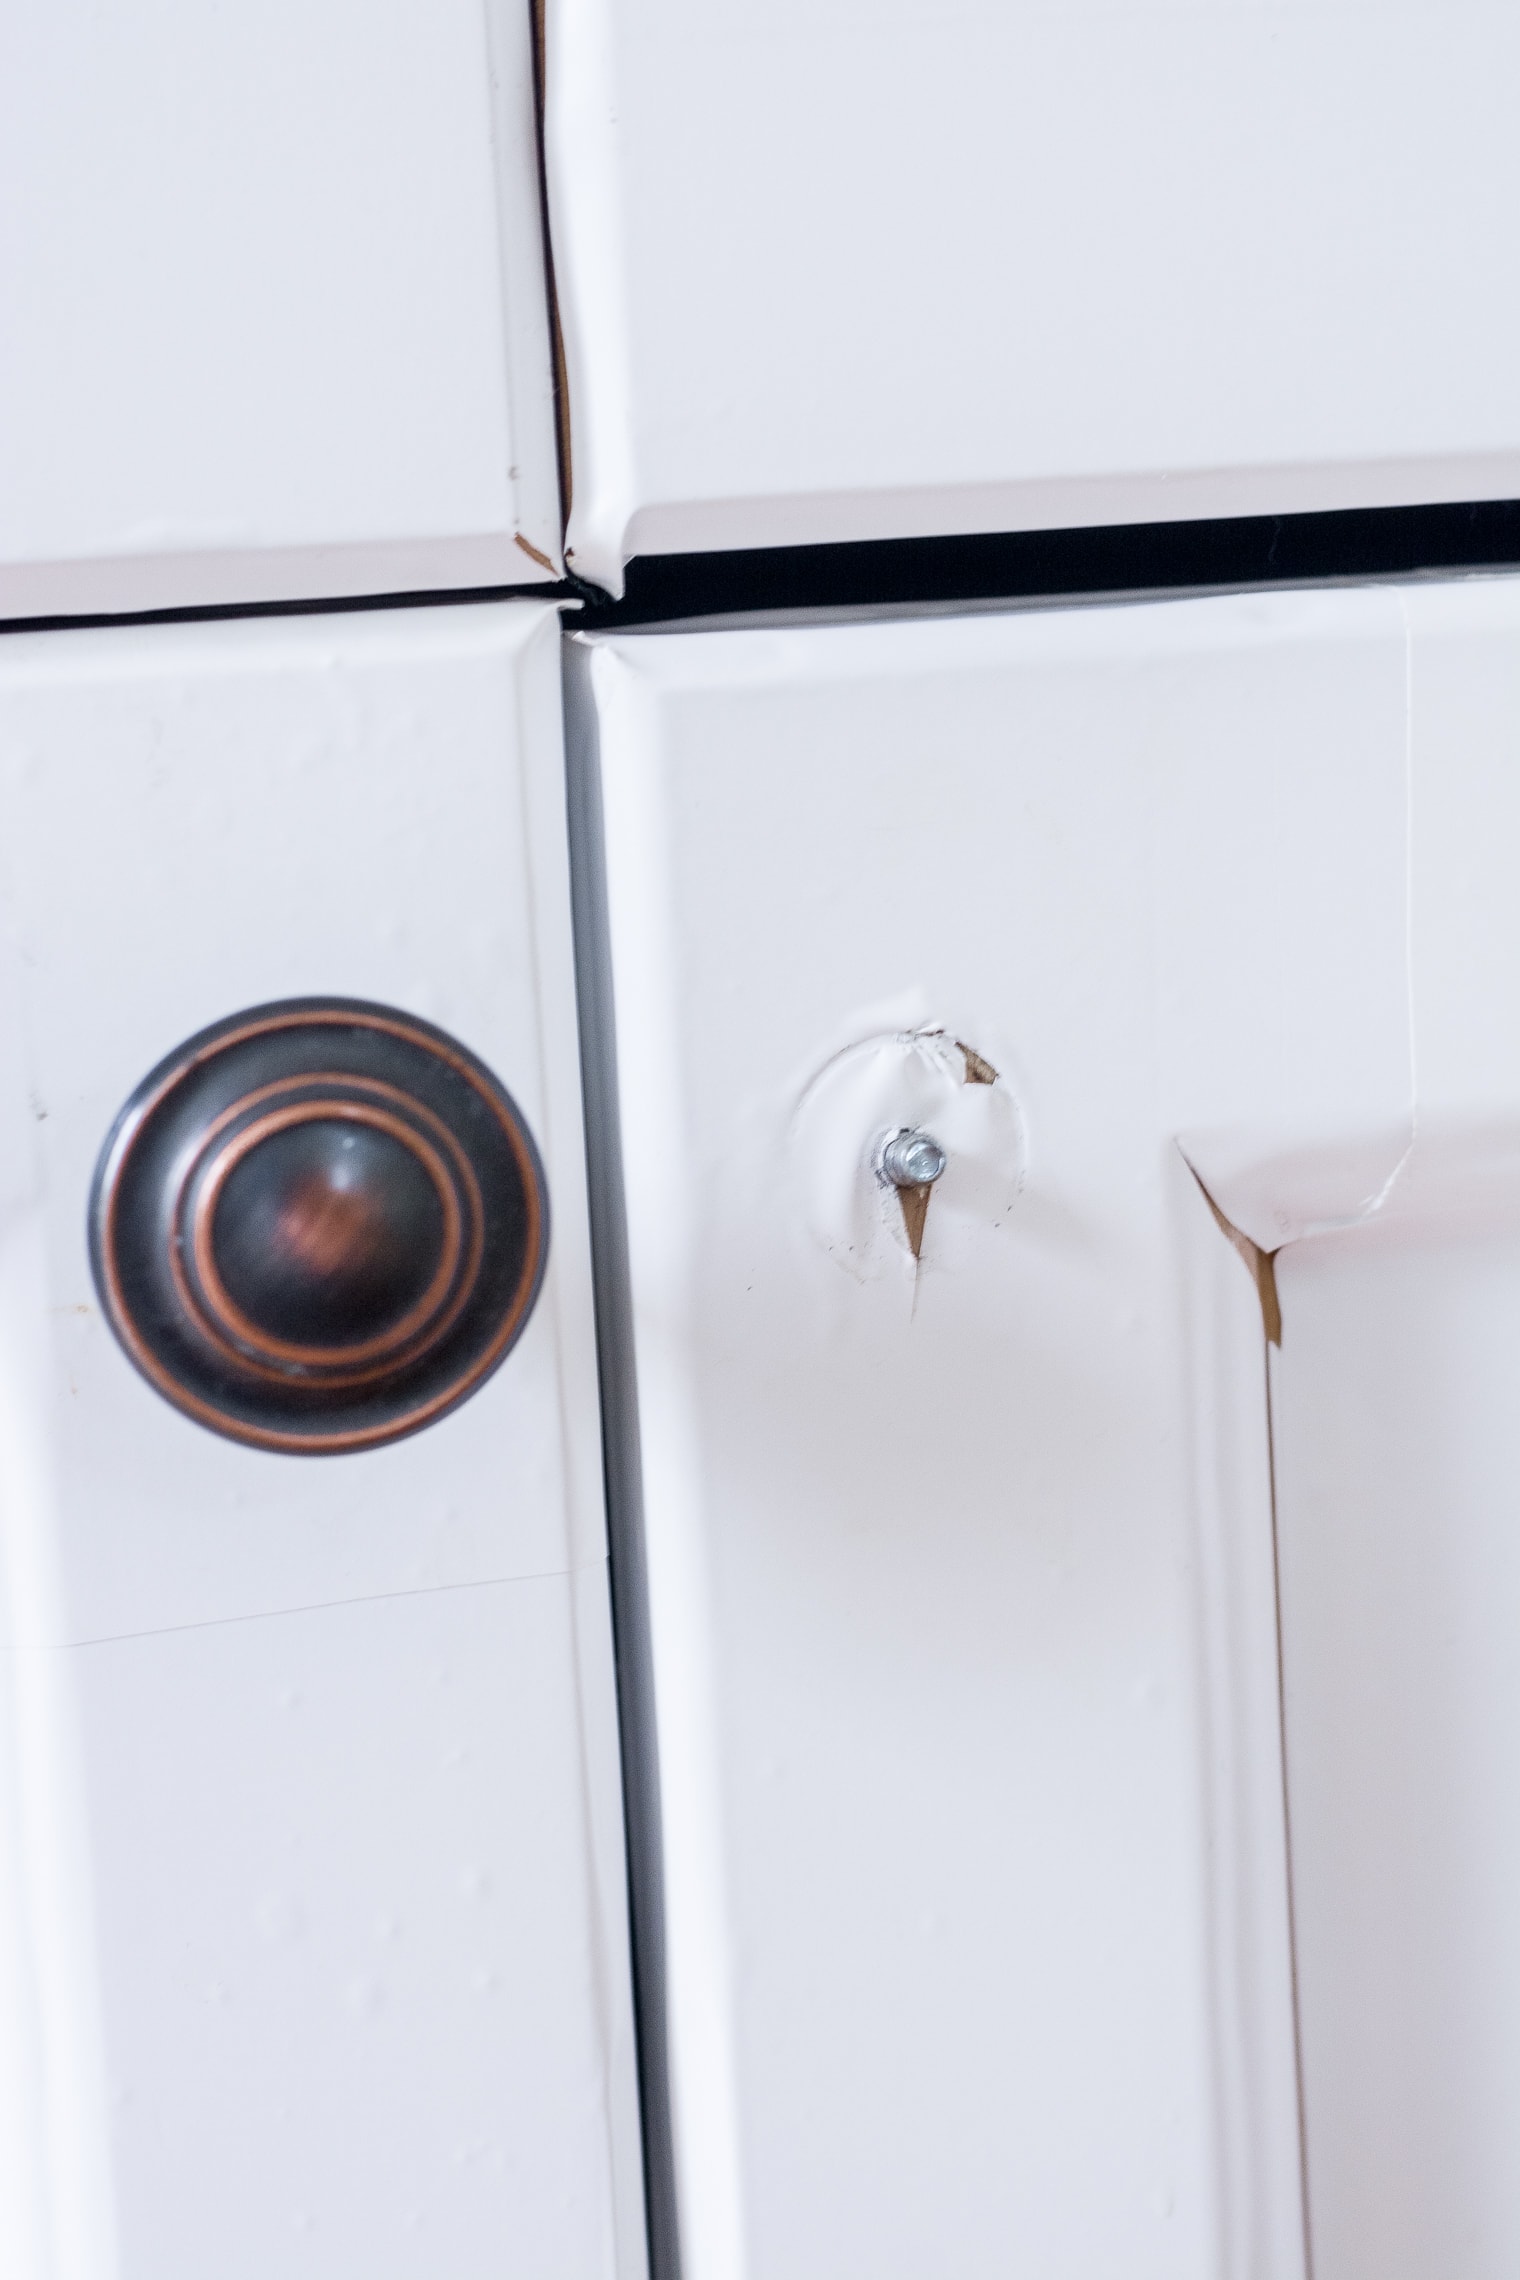
After you’re done with a full cabinet door, cut a small slit in the contact paper where the knob should go so that you can screw it back on.
After that, you should be good to go – this contact paper doesn’t need any drying time. You can screw the full cabinet back on and enjoy a bright white kitchen!
Related: A New Apartment Checklist + Free Printable
How to Cover Kitchen Countertops With Contact Paper
After I finished the cabinets, the kitchen looked a lot better, but the countertops were still out of place.
I was a little nervous to attempt working with the super stiff marble paper, but I finally bit the bullet and tried it out.
While the marble contact paper is a lot harder to work with, the entire countertop only needed a few sheets, so it literally took two hours to complete compared to the months that it took to cover the kitchen cabinets.
Step 1: Preparation
Again, I start with measuring a section of countertop (the largest possible) and cut the paper, leaving a lot of extra. The marble contact paper has virtually no give, so if you cut it too short you’ll have to scrap it and start over.
Step 2: Application
It’s easiest to apply this marble contact paper with two people, if possible. Unlike the cabinets, you have to do a large piece all at once.
Peel the back of the contact paper away and line it up as perfectly as possible with the edges of the countertop before sticking it down.
You can peel it up a few times, but generally you only have a 2-3 tries to get it right before it starts to crinkle.
Luckily, this contact paper barely shows any air bubbles and lays super flat. As long as you can line up the seams correctly and make sure it’s straight, it’ll look insanely real.
Around the sink was the toughest park. I had to lay down each piece individually then use the knife to trim any edges that were too long.
Step 3: Finishing Touches
After a few hours, I used the pocket knife to slice off any pieces that were sticking out, especially under the bottom of the counter.
Again, the finishing touch won’t be perfect, but it will for sure look better than the original.
Related: DIY Farmhouse Coffee Table
How to Cover a Dishwasher With Contact Paper
To complete the kitchen, I wanted to do my dishwasher in stainless steel contact paper.
This was super easy to do because it was just one sheet. It did get a few air bubbles, but it was pretty easy to apply using the scraper.
I measured it as close as possible (leaving a bit extra) and stuck it on then cut around the edges and any decorations on the dishwasher.
These cuts didn’t come out perfect, but no one so far has mentioned anything.
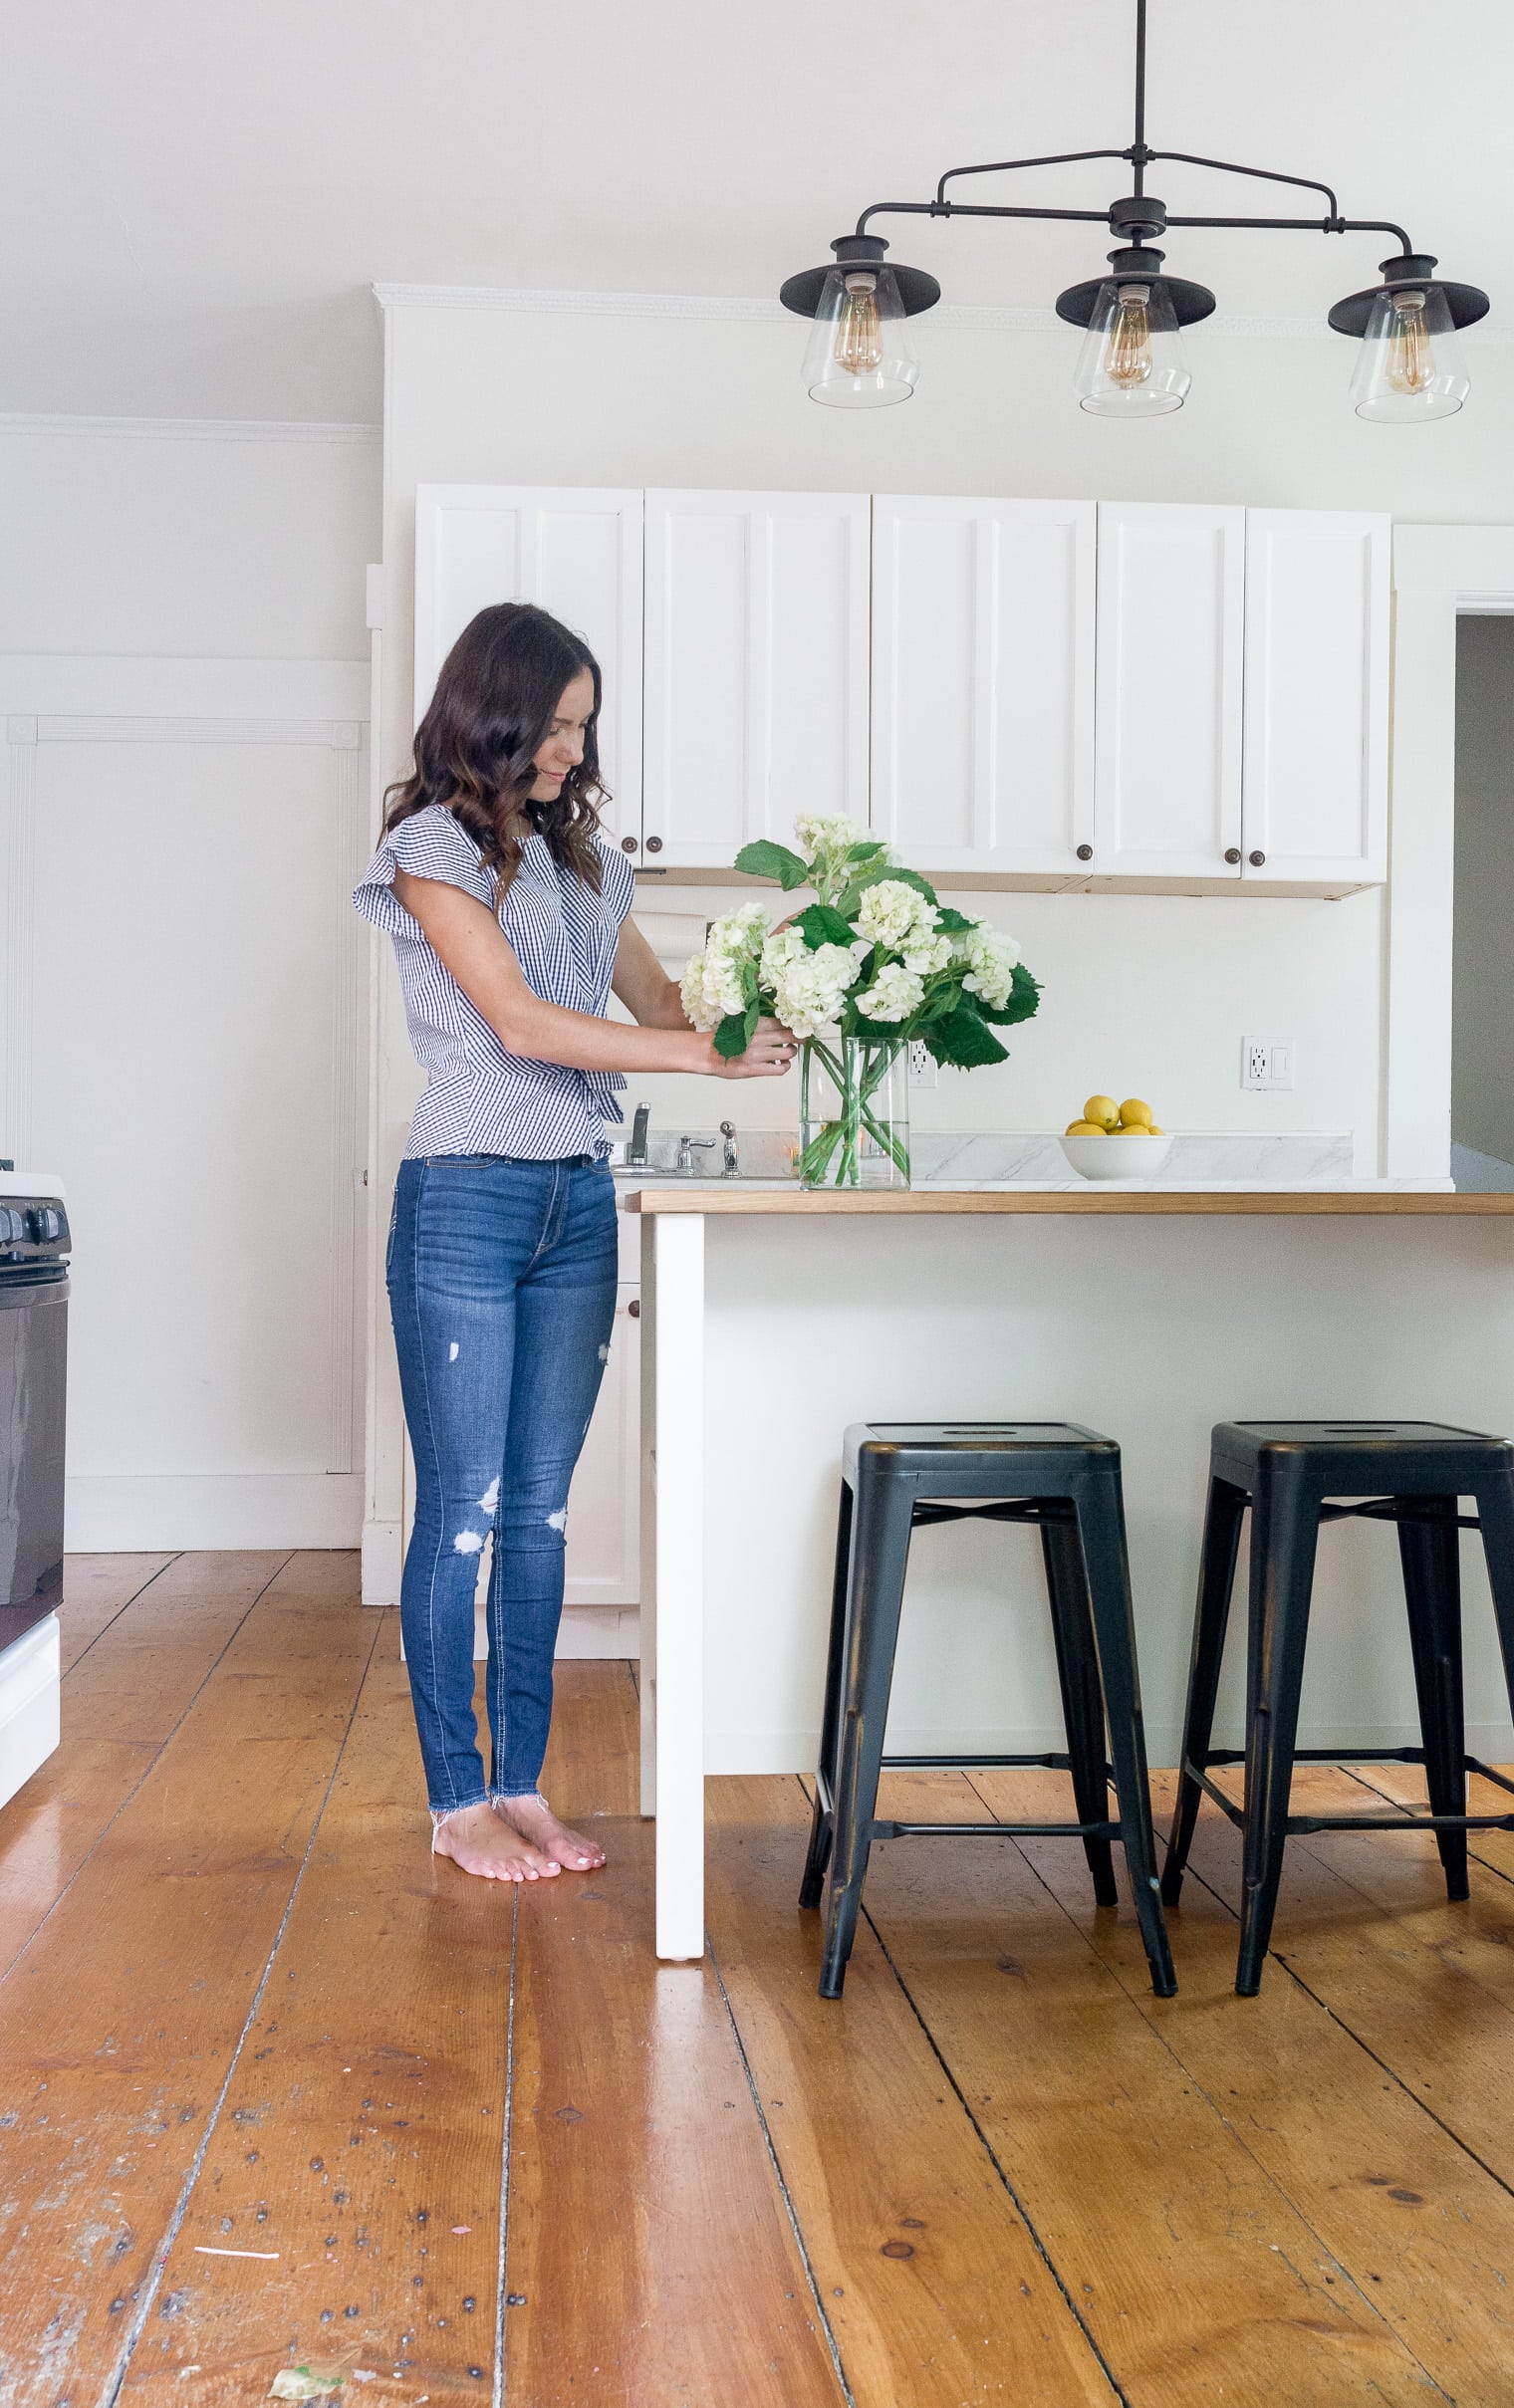
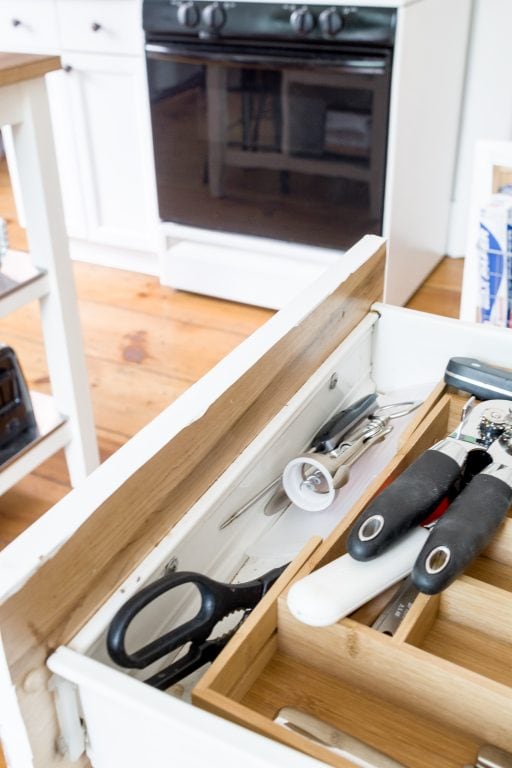
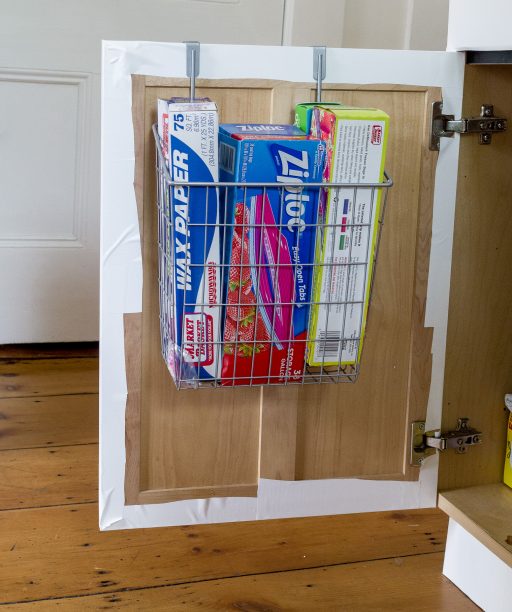
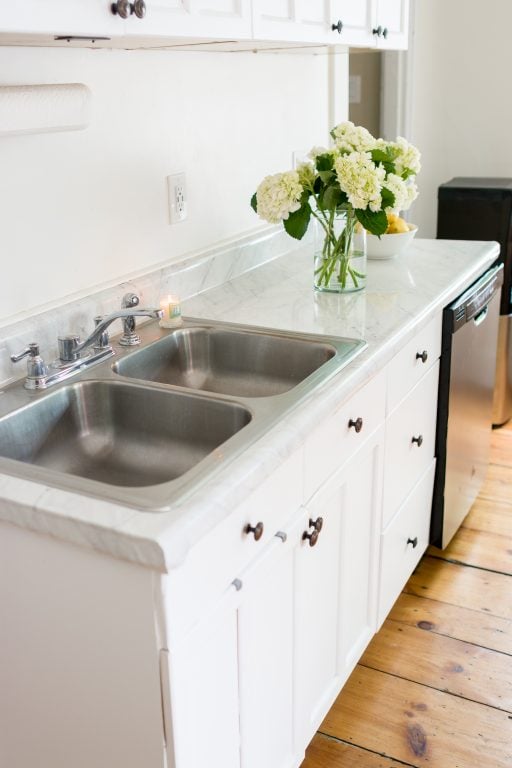
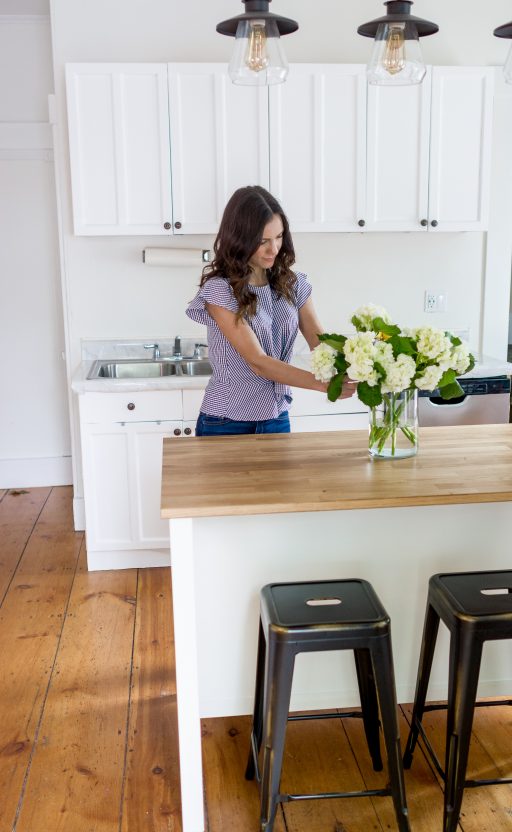
So there you have it: a full kitchen makeover using contact paper.
The Ikea island that we purchased and the pendant lamp do make huge differences from the original photos as well, but the room would look completely different without white cabinets and a marble countertop.
Feel free to reach out in the comments or via email with any questions at all!
This was one of those huge projects that I had tons of questions about and only wish I knew someone who had tried it before.


Are you still happy with the contact paper? Did it start to peel or bubble after time? Is there anything you’d change looking back now? PS it looks great!
It did hold up over time! There were never any bubbles and the contact paper is really stain resistant! It does pull back slightly if it gets wet so the edges start to show. Other than that it looks the same! I think it’s a great solution for renting or short term, but if I was to be staying somewhere for longer than 3 years I would definitely paint just because it’s smoother and more finished.
How were the cabinets after you removed the contact papaer did it damage it?
Quicker to paint if possible? What about pampering just middle panel of a wood door?
Do you have any concerns that it will leave damage on the cabinets after you remove?